Showing posts with label 3-D. Show all posts

Thursday, November 27, 2014

Happy Thanksgiving!

Good Morning Stamp Friends!

Today I have more Pinterest Inspiration. I found two darling Curvy Keepsake Turkey's on Pinterest. The first one is from Darla Watson. I loved that spread of feathers! Absolutely gorgeous! The second one is from Lisa Kirishian. I love the way she used the large leaf from the Flower Fair Framelits to make a body for the turkey. I combined the two and here's my version. The body is Chocolate Chip. I used Crushed Curry, Cherry Cobbler and Cajun Craze for my feathers. For his front feathers, I used Brown Baked Sugar. The beak and feet are Pumpkin Pie and the waddle is Real Red. I had some Google Eyes that I picked up a couple years ago that has eyelashes and I just love the way it turned out. It was so much fun to make.


Supplies Used:

Curvy Keepsake Die, Feather Framelits Dies, Flower Fair (large single leaf), Owl Builder Punch, Heart to Heart punch (retired-smallest heart for nose and waddle) & 1" Circle punch

__________________________________________________


Nov 25- Dec 2, 2014

Rosette Designer Bigz Xl Die Item # 125594
Regular Price: $42.95
Discounted Price: $32.21

Fancy Fan Textured Impressions Embossing Folder Item # 127751
Regular Price: $7.95
Discounted Price: $5.96

Alphabet Press Textured Impressions Embossing Folder Item # 130916
Regular Price: $7.95
Discounted Price: $5.96

Argyle Textured Impressions Embossing Folder Item # 127750
Regular Price: $7.95
Discounted Price: $5.96

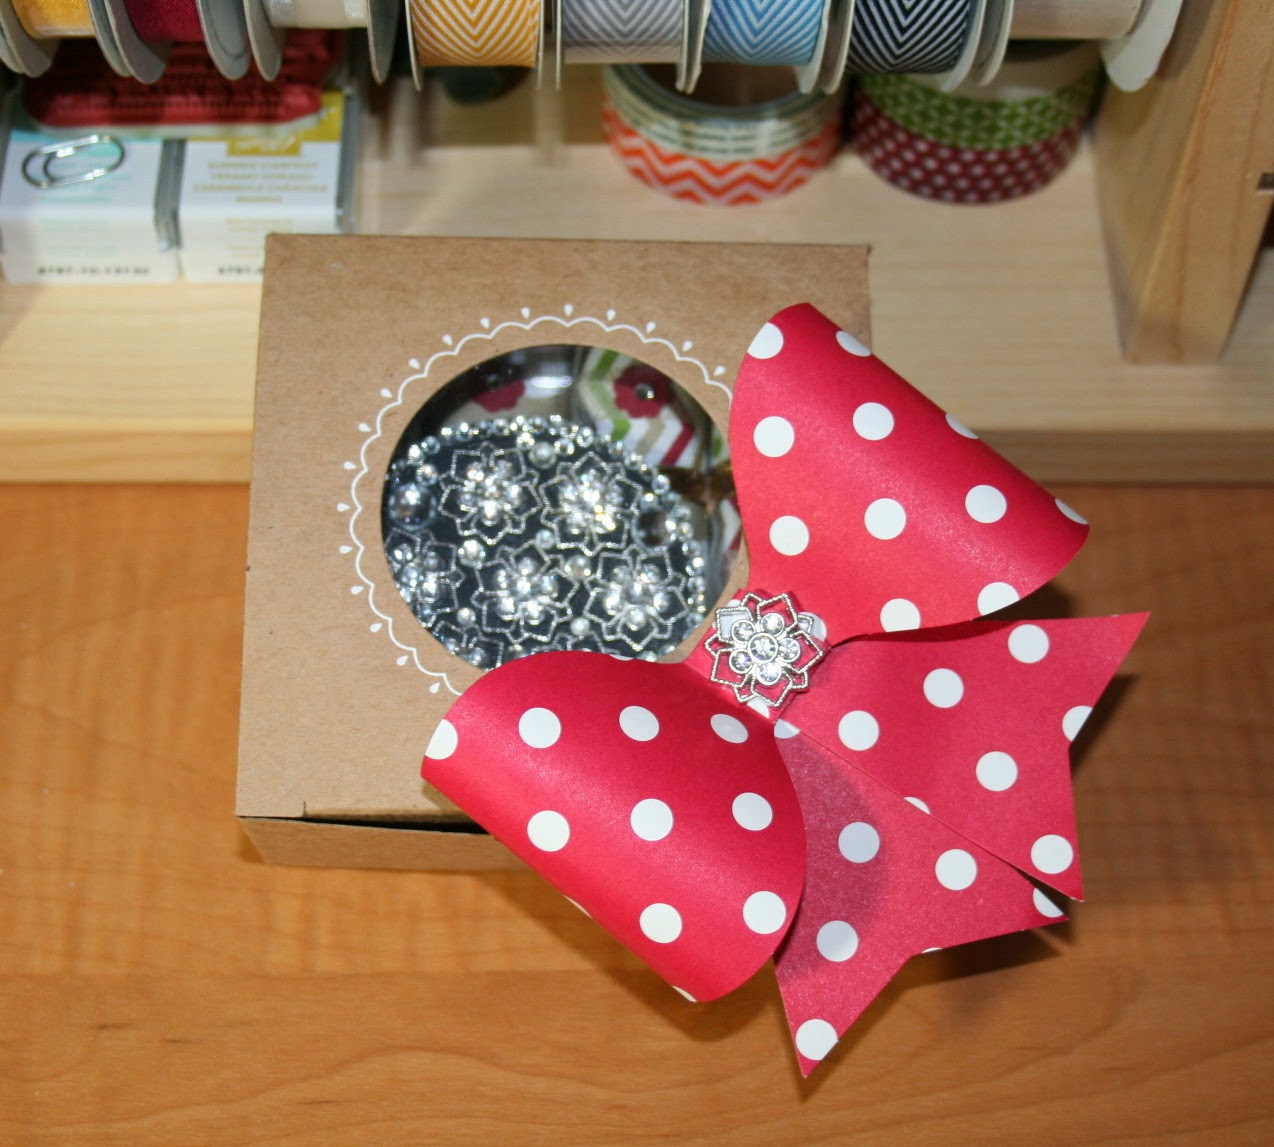
Silver Sparkle Dazzling Details Item # 127845
Regular Price: $2.50
Discounted Price: $1.88

Label Petite Curly Punch Item # 129405
Regular Price: $12.95
Discounted Price: $9.71

Merry Monogram Stamp Brush Set - Digital Download Item # 132716
Regular Price: $9.95
Discounted Price: $5.97

__________________________________________________


__________________________________________________


If you have any questions about the current promotions, please don't hesitate to contact me. To place an order, click on my on-line store here. If your order is less than $150.00, please use Hostess Code JFTHTPVS.

Thanks so much for coming by. I am thankful for my blog readers and my customers. I hope you have a wonderful Thanksgiving with your family and friends.

Wednesday, November 26, 2014

Santa Tag

Hello Stamp Friends!

I'm sorry for the delay in this post. I received an order to make Christmas cards for someone, so I had to get those done and in the mail!

I'm back today with another adorable project that I saw on Pinterest. Check out this adorable Santa by Leonie Schroder! She had it mounted on the front of a Hamburger Box. I chose to use mine as a gift tag. I wasn't able to obtain the supply list, so it took me a while to figure it out. I'm not 100% sure I used the same supplies, but they work:)


Supplies Used:

Petal Cone Die (retired)- hat & beard
Square Framelits Dies- largest for hat brim
Mustache Framelit- mustache
Oval Framelits- 3rd smallest for face
7/8" Scallop Circle punch- ball on hat
3/4" Circle punch- nose
1/2" Circle punch- eye whites
Itty Bitty Punch Pack Circle (retired)- pupils

Once I figured out what to use, he was simple to put together and just adorable! Thanks Leonie for sharing your darling Santa on Pinterest!

Thanks for coming by and I hope you'll come back to see what other great finds I found on Pinterest!


Thursday, November 20, 2014

Where do you go for inspiration?

Hello Stamp Friends!

Where do you go for inspiration? I find inspiration everywhere, but lately I've been spending some time on Pinterest and have found the most adorable things to make for the holidays. The first thing I found that I went crazy over was this Elf Fry Box made by Candace Pelfrey. I knew I wanted to make it, but I had to improvise, because I didn't have the same papers she used. I did however, have some retired papers that I thought would work.


I started by cutting the entire Fry Box design using Old Olive card stock. Next, I measured the inside section of the back of the box and cut my DSP and adhered it to the inside using the Adhesive Transfer Sheets. For the polka dots on the inside of the box, I used the retired DSP Polka Dot Parade in Old Olive. Then I did the same thing for the front of the box using the Brights DSP Patterns Stack, again in Old Olive, which came from the 2012-2013 Catalog. I made the collar by cutting out the front of the box using Whisper White card stock and the Big Shot. I left about a half inch at the top and then drew the zig-zags using a ruler, so the lines would be straight. After cutting it out, I added it to the fry box with Stampin' Dimensionals©. I added Mini Jingle Bells (which are also retired, but you shouldn't have any problem finding them at the local craft store this time of the year:) with glue dots.

For the belt, I cut a 6 1/4 x 1/2" piece of black card stock and wrapped it around the sides and cut off the excess. (It does not go around the back side.) For the buckle, I cut a 3/4" strip of silver Foil paper and used the Project Life Corner Rounder Punch to round the edges on the right side. Then I put it on my paper trimmer and cut the strip to 3/4". Then I put a tiny bit of adhesive on the back side and stuck it to the edge of another strip of card stock, so I'd have something to hold on to and be able to round the other two sides. I hope I'm explaining this so you can understand.? Then I cut a 1/2 x 1/2" piece of black card stock and put it in the center of the black strip so it would resemble a belt buckle. Isn't it adorable?

I also love how she did the "Elf Poop" circles to put on the bottom of the Hershey Kisses, so I set out to make those too! I haven't done much in My Digital Studio, so it took me a couple days to get it looking and printing the way I wanted it to. I even had a Candy Cane Font to print them in. What do you think?


If you like this project, please be sure to come back tomorrow to see another darling project that I found on Pinterest. 

Thanks so much for coming by and I hope you have a wonderful day!

Friday, October 31, 2014

Happy Halloween!!!

Good Morning Stamp Friends!

Happy Halloween! This morning I'd like to share the treats I made for my sons classmates. These came from one of our Stampin' Up! Artisan Designers, Allison Okamitsu. You can see her treats here! She was so kind to post a video showing how she made them. Thank you so much Allison! When I showed them to my son, he loved them and thought his classmates would too:)


For his Teacher, Helpers and Bus Driver, I used the September Paper Pumpkin kit. I filled the bags with Russell Stover Marshmallow Pumpkins and decorated them using the instructions in the kit. Aren't they great?


Thanks so much for coming by today! I hope you have a safe and fun Halloween with your family and friends:)


Monday, January 20, 2014

Upline Shoebox Swaps

Good morning stampers!

This weekend I attended a Shoebox Swap at my upline, Becky's house. There were suppose to be 11 of us, but one person had to cancel at the last minute. Today I would like to share the projects that we made.


Here is the inside of Deb's card:


This next project may look familiar to some of you. Becky prepared this for all of us to make. She said it was a project that was shared at the 2014 Leadership Conference. 


Here is a close-up of the tag.


And this last card was designed by me.


Supplies Used:
Stamps: Perfect Pennants

Paper: Real Red, Coastal Cabana, Whisper White & Fresh Prints DSP stack

Ink: Coastal Cabana ink pad & Real Red marker

Other: Chalk Talk Framelits, Fashionable Hearts Embosslits, 1/8" Real Red Taffeta Ribbon, Decorative Dots EF (Sale-A-Bration item, coming soon!), Basic Rhinestones & Stampin' Dimensionals©

I hope you have enjoyed these projects. Be sure to come back tomorrow to see what the new Weekly Deals and Digital Downloads are.

Thanks for coming by and I hope you have a great week!

Thursday, November 14, 2013

Gift Bow Die Turkey

Good Morning Stampers!

Today I would like to share probably my favorite 3D project ever!!! He was made from the Gift Bow Bigz and Circle Framelits dies.


Isn't he the cutest? The creator of this darling turkey is Kirsteen Gill. To purchase her step-by-step instructions, click here. I can't tell you how many compliments I've received and how many smiles I've seen because of this cute little guy! 

Remember, the Gift Bow Die is on sale as part of this weeks Weekly Deals! 

Thanks so much for coming by today and I hope you have a wonderful day:)

Friday, October 25, 2013

Baby Shower Ensemble

Good Morning Stamp Friends and Happy Friday!!!

Today I would like to share some projects that I made for my neighbors baby shower. We originally planned to have the shower in September, but the baby just couldn't wait for it. So we postponed it until October 20th. Since I knew the baby's name, I was able to make a banner with her name. Her name is 11 letters long! It took me a couple days to make the banner. I got so many compliments on it. Sorry for the blurry photo:(


Here's a close-up of one of the letters so you can see the details. 


Next, I made a card that I had cased before from LeAnn Greff. I just love her punch art duck! I made the favors first and they looked kind of plain to me, so I decided to make a mini version of the duck to put on the favors. 


Supplies Used:

Banner:
Paper: Crumb Cake, Blushing Bride, So Safrron, Early Espresso & Love Birds Simply Sent Kit (Retired)
Other: Big Shot, Apothecary Art Framelits, Labels Collection Framelits, Designer Frames Embossing Folders, Simply Scored Scoring Tool, Typeset Alphabet Bigz dies, Circle punches (1", 3/4" & 1/2") & Stampin' Dimensionals©

Favor:
Paper: Crumb Cake, Blushing Bride, So Safrron, Early Espresso & Love Birds Simply Sent Kit (Retired)
Other: Big Shot, Matchbox die (Retired), Labels Collection Framelits, Punches (3/4" & 1/2" Circles, Cupcake Builder, Blossom Petals Builder (beak-skinny end of smallest petal), Owl Builder (pupil of eye), & Itty Bitty Punch pack, Basic Rhinestones, 5/8" Whisper White Organza ribbon & Stampin' Dimensionals©

Card: See LeAnn's Blog for the punches used on the duck.
Stamps:
Ink: Early Espresso
Paper: Whisper White, Blushing Bride, So Safrron, Early Espresso & Love Birds Simply Sent Kit (Retired)
Other: Big Shot, Island Blossoms Bigz Die (Retired), Perfect Polka Dots Embossing Folder, Punches (2 1/2" Circle, Large Oval, Scallop Oval Small Heart & Dotted Scallop Ribbon Border) & Stampin' Dimensionals©

The baby's mother loved everything that I made and she said she was going to hang the banner in the baby's room:) I wish I was better at taking pictures. The photos really don't do them justice:(

Thanks so much for coming by today and I hope your weekend is great!!!

Monday, October 14, 2013

Gift Share & Blog Candy Winner!

Good Morning Stamp Friends!

I'm sorry I'm a bit late with my post. I forgot today is my Wedding Anniversary and my hubby took off to spend a couple days with me. We are getting ready to go out to breakfast, so this post will be pretty quick!

I wanted to share a gift that my upline, Kathy gave to me.  love these new Decorative Window Gift Boxes! She decorated it with a bow made from the Pretty Presents Designer Bows.


Inside this beautiful box, was this GORGEOUS pin she made with Frosted Finishes Embellishments and Basic and Large Rhinestone Jewels. I LOVE IT!


Once I removed it from the box, I was surprised to see Hershey Nuggets wrapped in Season of Style Designer Series Paper. She wrapped Season of Style Washi Tape around some of them and put the flower on after punching with the Itty Bitty Punch Pack flower. She finished them off with Rhinestones.


I have to say, I have the most talented and thoughtful upline! Thank you so much, Kathy:)

And now I would like to announce the winner of my Blog Candy Give-A-Way. First, I would like to thank everyone for their very thoughtful comments. They mean the world to me. I really appreciate it. 

The winner is Nicole G! Please click on my "Contact Me" bar at the top of my blog and send me your address and I will get your stamp set in the mail:) 


Thanks everyone for playing along and celebrating my anniversary with me. I know 4 years isn't a really big deal, but it means a lot to me:)

Thanks so much for coming by today and I hope you have a great day!!

Sunday, September 29, 2013

Demo Event Share (Part 2)

Hello Stamp Friends!

I'm back with the second half of the photos that I promised of the 3-D items that we made last weekend. In my last post, I shared the card that the hostess, Christin made. I mentioned that I'd be back with a picture of the matching envelope and box that she had for us to make. I LOVE this set!

Christin R


Two other demonstrators made 3-D items. I love this adorable box made by Margaret. I love the way she decorated it. If you look closely, you will see that she decorated the circle around the window of the box with Rhinestones and the tag. I was so excited, because I won a set of these boxes in my door prize bag:)

Margaret H


Next is a gift card holder made by Becky. This was made using the new Envelope Punch Board. The sentiment on the front was made with a belly-band that slips over the closed gift card holder. 

Becky H


The envelope that holds the gift card is the smallest envelope on the punch board. The top of the envelope and corners on the holder were all punched using the top of the Envelope Punch Board:)

When we received the invite for this Demo Event, we were asked to make only Fall and Christmas projects. Christin wound up giving each of us these Halloween gifts. Aren't they great? 

Christin R

Last, I wanted to share how she decorate the Door Prize bags. Isn't this gorgeous? She is such a talented demonstrator. I felt like a kid in a candy shop in her house. There were displays everywhere you looked and I left there so inspired:)

Christin R

Thank you so much, Christin and everyone that participated in this event. I had a great time with all of you and I look forward to doing it again in the Winter:)

Thank you for coming by today! I hope you are having a great weekend:)